CSS is a language for giving color and shape to your website. As you've seen in the HTML lesson, we have already included Picnic CSS as a solid foundation to build the rest of the style. There are many libraries like this, including the famous but complex Bootstrap.
The CSS always modifies one or several of the HTML elements. Let's see how it works together:
Selectors and properties
To know which HTML element we are modifying, we'll use what is called a selector. Every one of the style definition that we make on this selector is called a property. For example, to give some margin to all of the paragraphs of a website:
p {
  margin: 5px;
}
The selector is the "p" that we find in the first line. What it does is selecting all the paragraph elements from the HTML.
After the selector we will always find braces "{}" that surround all the properties that we want to define for the elements selected.
Finally, the properties are pairs of name: value;. In this example we only have the margin as a name and 5px as a value. So we are saying that al of the paragraphs in the site have a margin of 5px.
We can add several properties to a single selector, for instance to add margin AND to change the background of all the paragraphs:
p {
  margin: 5px;
  background: rgb(200, 100, 100);
}Classes
There are several kind of selectors. As you might remember from the previous lesson, classes have a special meaning. For instance, for this HTML:
<section class="row"> <div class="hello">Hello</div><div class="hello world">Hello world</div> <div class="bye">Bye</div> </section>
We can style it with CSS (Cascade Style Sheet):
/* Style for all of the <div> */
div {
  background: red;
}

/* Style for all elements with the class "hello" */
.hello {
  background: green;
}

/* Style for all elements with the classes "hello" and "world" */
.hello.world {
  background: blue;
}
Layouts
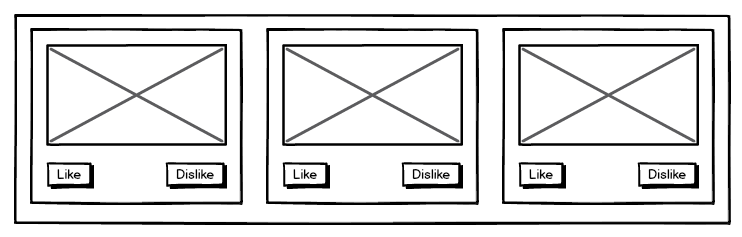
Most websites can and should be designed from the more general items to the more specific. First we program the layout of the website. This is a layout:
When we want to make it in HTML+CSS, we first need to take into account the top-most elements:
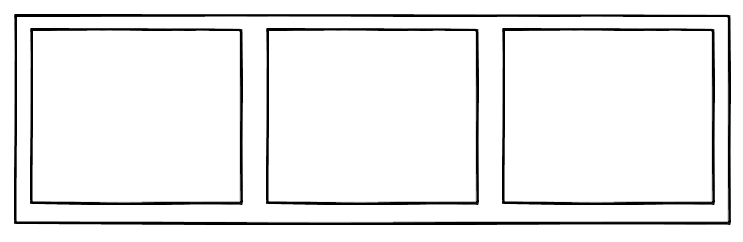
Now let's program it. Since it's really generic, we will be using <div> and classes for layout elements. First, the line that surrounds them all:
<div class="gallery"><!-- Everything else goes here --> </div>
As we see, we assign the class gallery for the container. We will need to remember this class for giving it style later on. Then, each of the components will have the class element:
<div class="gallery"><div class="element">A</div> <div class="element">B</div> <div class="element">C</div> </div>
Right now our elements don't have any style or content. Let's give it to them. While we could do it with CSS, we'll be using Picnic CSS to make it easier. For this, we will need a class called flex on our gallery and div elements inside of it:
<div class="gallery flex three"><div> <div class="element">A</div> </div> <div> <div class="element">B</div> </div> <div> <div class="element">C</div> </div> </div>
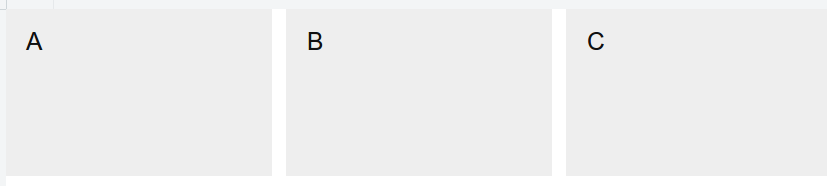
Check it out in this jsfiddle. There we can see the three letters spaced horizontally. However we cannot see it clearly. Let's give some basic style to the elements to see them better:
.element {
  background: #eee;
  padding: 10px 15px;
  height: 120px;
}
You can see how it looks in this jsfiddle. It looks a lot more like our general layout: