HTML is a content and structure language for making websites. There are some fixed parts that are the same or similar to most websites. For this lesson, we'll be using this basic structure:
<!DOCTYPE html> <html> <head> <title>First website</title> <meta charset="utf-8"> <meta name='viewport' content='width=device-width, initial-scale=1'> <link rel="stylesheet" href="https://cdn.jsdelivr.net/picnicss/4.1.1/plugins.min.css"> <link rel="stylesheet" href="style.css"> </head> <body> ...</body> </html>
All of the elements that we will see later on will go inside <body> ... </body> in the layout above. We won't write the whole structure for the tutorial later on to keep the code tidy, but you should include it when trying it out.
Elements
Websites are made up of elements that can be put side-by-side or one within another. As an example, the paragraph elements are:
<p>This is a text paragraph with some content</p>
If we wanted to write two paragraphs, we could do it like this:
<p>First paragraph with some text</p>
<p>Second paragraph with some more text</p>
Also, if we wanted a paragraph with some bold text <strong> ... </strong> we could do it like this:
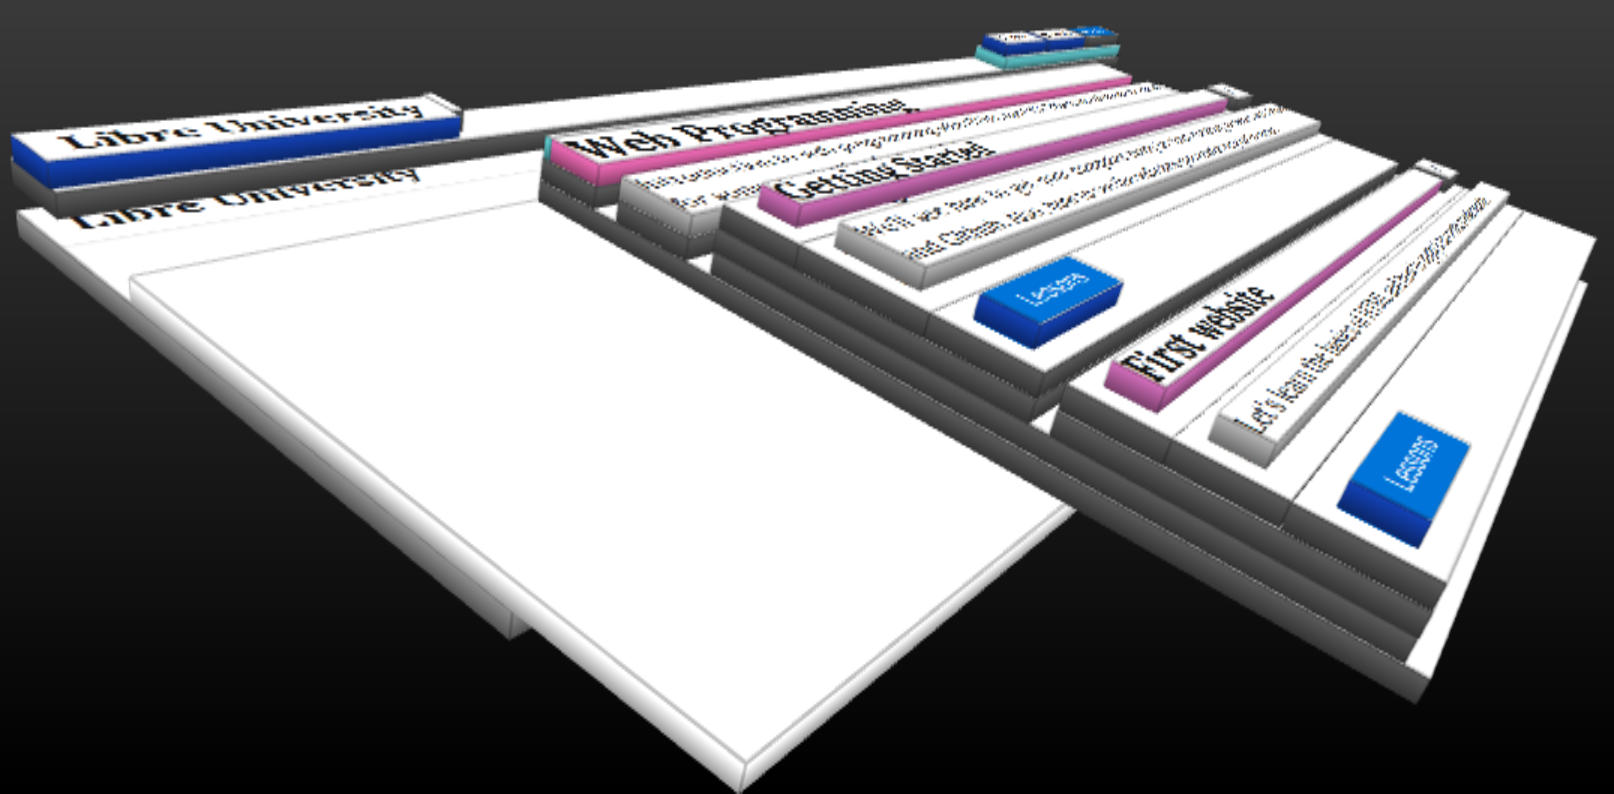
<p>A paragraph with <strong>important text</strong> and some more</p>All websites are made of elements inside other elements. You can see a visualization of it in Libre University here:
Separating each part of the website into blocks, and each block into smaller blocks helps us giving styles to the elements, something that we will see later. There are many kind of elements. Let's see just a few:
<p> a paragraph
<strong> bold text
<em> italic text
<a> a link
<button> a button
<img> an image
<div> a division
... many more
Remember that, even though we only show a part above, most of the elements need to be closed. HTML elements have the following structure:

So far we have seen what are HTML elements and that they have an opening tag, some content and a closing tag. The content might be just text or another HTML element.
Exercise 1: create a shopping list with the items you want to buy. For this, you'll have to Google how to create a list of items. Googling correctly is an everyday skill that every programmer should know.
Exercise 2: create a small blog entry with what you did yesterday, including a title (<h1>) and some paragraphs (<p>) with bold text (<strong>), italic text (<em>) and links (<a>) if you want to challenge yourself (explained later).
Attributes
In the schema of the elements we've seen there's something called attributes. Everything outside <...> can be seen on the page, so we need a way to add extra information like with the links.
A link has some text and a url to go, but you can only see the text. The url is saved in an attribute called href. To see it better, this is how you can define a link <a>:
<a href="http://en.libre.university/">Libre University</a>
If we open this with a browser, it would look this way: Libre University
Another attribute could be the one used for images. To add an image to a website we use the element <img>
src:
<img src="http://www.makersupv.com/images/logo.svg">
This attribute is the one used in Makers UPV to display the logo.
Exercise: add a button with the text "Google" that takes you to Google when clicked.
Divisions <div> and classes class=""
Now that you know the basics of HTML, there's an element and attribute with special meaning. The element is <div> , which represent divisions but it's normally used when there's no better element available. For instance, if you want to set up several images beside each other, you'll probably need an element to contain them all:
<div> <img src="galeria1.jpg"><img src="galeria2.jpg"><img src="galeria3.jpg"> </div>
Sin embargo si pusiéramos eso en una página no se verían como esperamos, una al lado de la otra, sino que se verían una encima de la otra y cada una con su tamaño original.
Las clases son un tipo de atributo que también tiene un significado especial. Van en un elemento y definen de qué tipo de elemento se trata. Veámoslo con el ejemplo nombrado anteriormente, una galería de imágenes:
<div class="row"> <img src="galeria1.jpg"><img src="galeria2.jpg"><img src="galeria3.jpg"> </div>
Aquí estamos definiendo el div de tipo row. Las clases son muy útiles ya que también nos sirven como referencia para añadir estilos a los elementos. En el caso anterior la librería Picnic CSS define que la clase row tiene los elementos de dentro espaciados igualmente:
Ejercicio: utiliza el elemento button de Picnic CSS de tres formas diferentes.